Affordable Video Production Equipment Packages for Small Businesses: Starter Kits and Upgrades

July 8, 2026
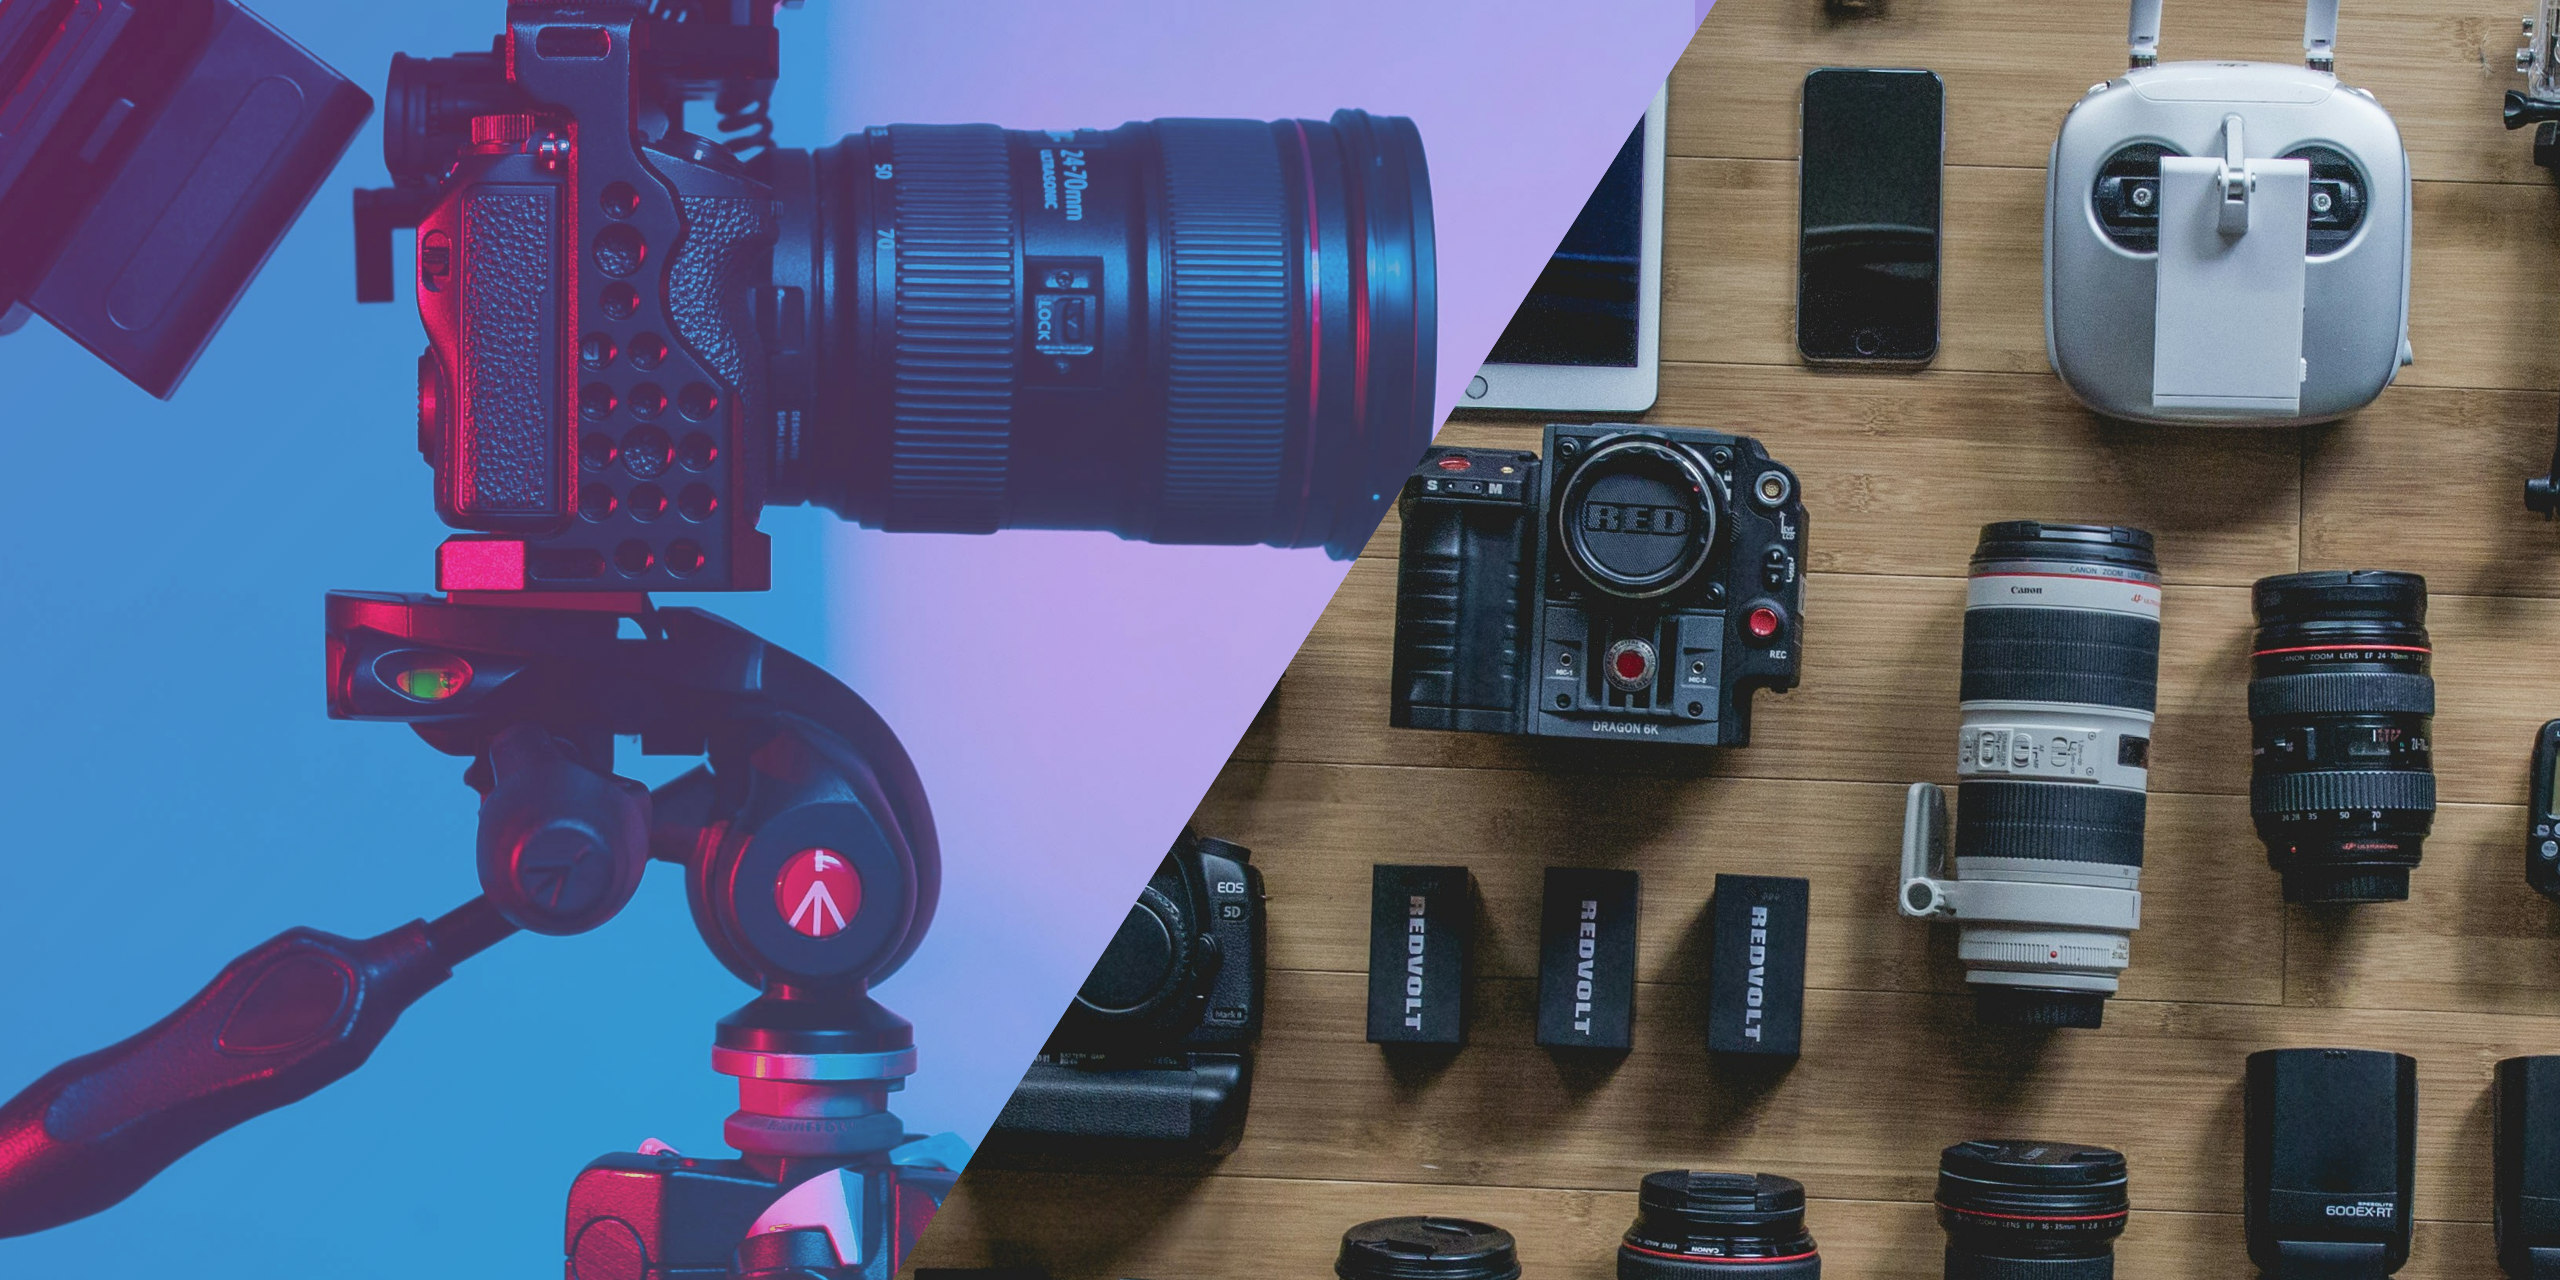
If you’re looking for affordable video production equipment packages for small businesses, this guide lays out budget-friendly bundles and upgrade paths that help you cover common production needs without high costs. It’s built for small-business owners and lean marketing teams that need repeatable setups for business videos, product demos, social clips, webinars, live streams, and client-facing content without overspending.
We’ll define target budgets and goals for small businesses, including the fact that effective packages can land around $1,000 to $2,000 (Best Buy), then map packages to common video types and channels. From there, we break down phone, basic video, and pro-lite kits, live streaming and conferencing setups, audio and lighting essentials, stabilization tools, editing software, workflow decisions, and a practical buying checklist so you can choose equipment that fits your content plan, brand image, and production process.
Why These Affordable Packages Work For Small Businesses
- Repeatable kits deliver better solutions for small teams because they make it easier to create consistent video content, with multiple low-budget video equipment options available to boost production quality without high costs.
- Recommended budget ranges per package: starter kits around $300–$800, mid-tier kits around $800–$2,000, and more advanced setups above that. For many small businesses, it makes sense to prioritize audio first, since good audio quality matters more than video quality for viewer retention.
- Rent when you need gear for occasional projects or one-off shoots, and buy when production is ongoing and you want the right equipment for your team’s needs and current skill level.
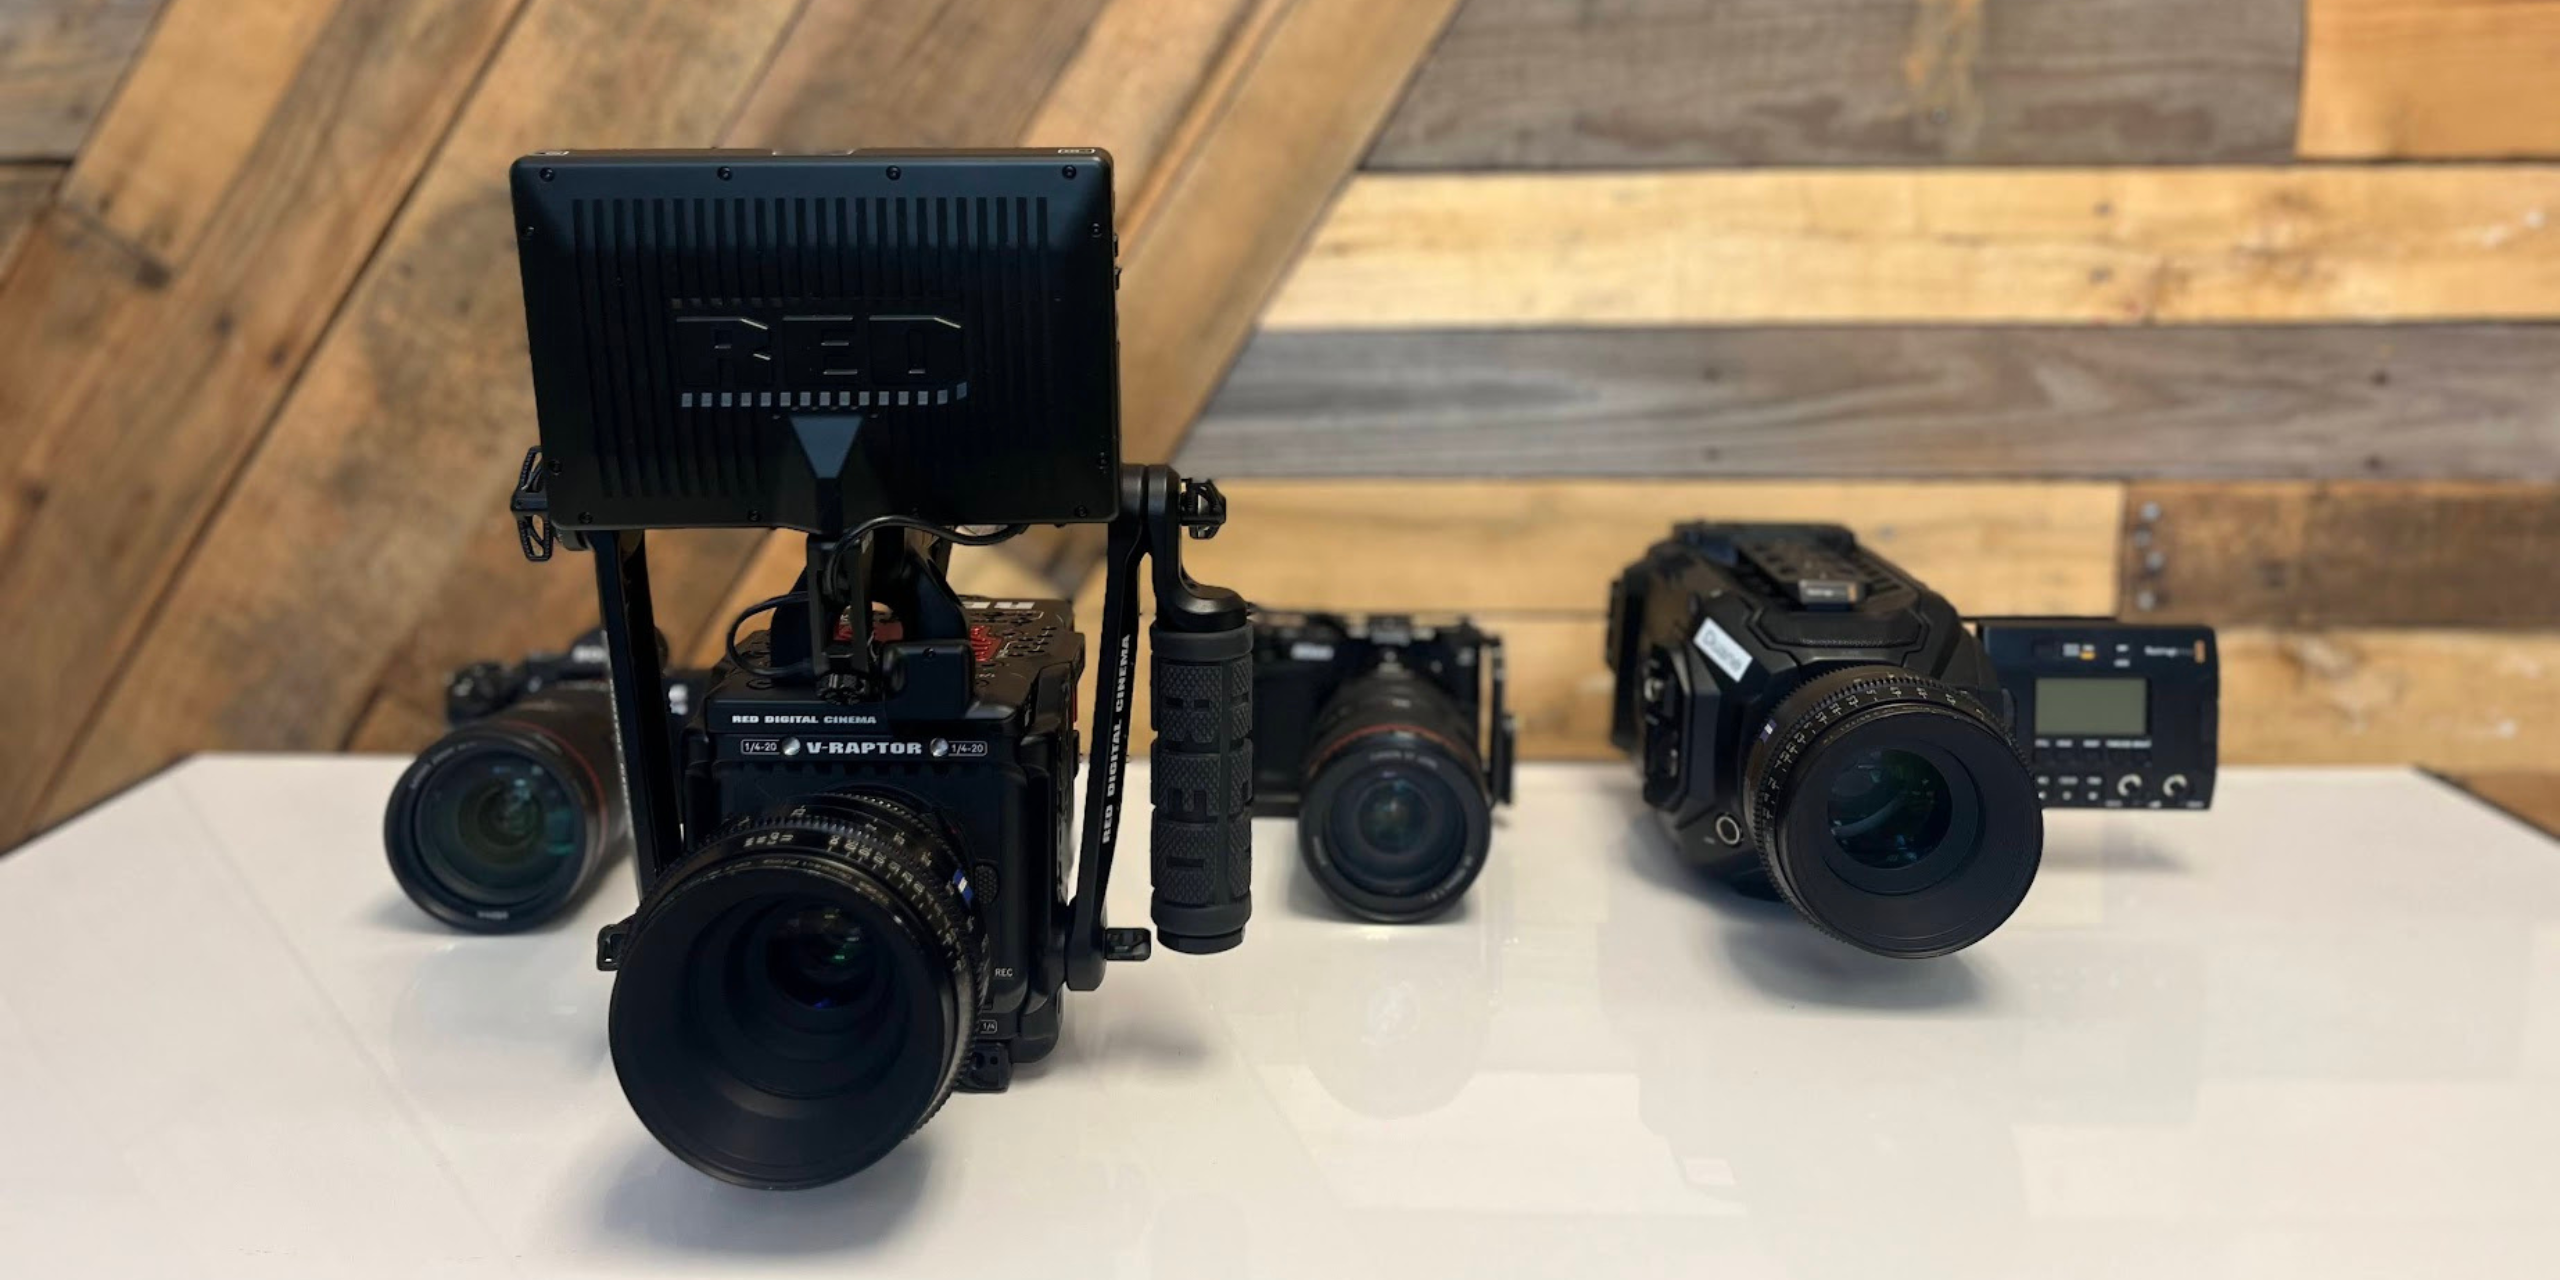
Starter Packages For Small Businesses
Phone Kit — Start Filming Quickly
- Use a phone tripod or clamp mount and a small LED light; a smartphone camera can handle basic video recording at 1080p, and many modern phones also shoot 4K with stabilization features.
- For audio, skip the built in microphone when possible and add a lavalier microphone clipped to clothing, since it improves clarity significantly and captures clear audio with less background noise, which helps overall sound quality.
- Before a 15-minute shoot, frame the shot, lock exposure if your phone allows it, and use a good pair of headphones to monitor sound so you can catch issues during recording.
Basic Video Kit — Three-Point Lighting Included
- An excellent entry-level mirrorless camera is the Canon EOS R50, a beginner-friendly option featuring built-in Wi-Fi and Bluetooth, outstanding autofocus, and oversampled 4K video. Expect to pay approximately $650–800 for the body. If you prefer Sony, the Sony ZV-E10 is another creator-focused mirrorless camera with interchangeable lenses, typically priced around $700–800. Those who prefer a DSLR may also consider a used Nikon D3500, which offers a 24.2-megapixel sensor and beginner-friendly Guide Mode for approximately $400–550, though it records video in Full HD (1080p) rather than 4K.
- A sturdy tripod is essential for steady shots. For beginners, the SmallRig AD-01 Fluid Head Tripod is an excellent choice because it provides smooth pans and tilts, adjustable height, a quick-release plate, and the stability needed for interviews and marketing videos. If you’re looking for something lighter and more compact, the Benro Slim Aluminum Tripod is another solid option. Expect to spend approximately $100–180 for a quality beginner tripod.
- Proper three-point lighting helps subjects appear natural, evenly lit, and well-defined, significantly improving the overall quality of your videos. A recommended option is the GVM 800D-RGB 3-Light LED Video Lighting Kit, which typically costs between $300-$450. Look for features such as adjustable brightness, a variable color temperature (3200K–5600K), a high Color Rendering Index (CRI) of 95 or higher for accurate color reproduction, and included light stands for easy setup.
- Pair your lighting with a collapsible backdrop, such as the Neewer 5′ × 7′ Collapsible Background, to create a clean, distraction-free environment. Basic diffusion tools—such as softboxes, diffusion fabric, or umbrellas—help soften shadows and produce more flattering light. In smaller offices or studios, the Neewer 18″ LED Ring Light Kit offers an affordable alternative for evenly lighting interviews and talking-head videos. Expect to spend approximately $60-$100 for the collapsible backdrop and $90–$130 for a quality ring light.
Pro-Lite Kit — External Recorder & Shotgun Microphone
- For businesses producing frequent interviews, testimonials, training videos, or marketing content, a mirrorless camera such as the Sony a6700 (body estimated $1,400-$1,600) with an external recorder like the Atomos Ninja ($500-$700) provides greater image quality and flexibility with interchangeable lenses, making capturing interviews more effective when paired with the right lens choice and camera settings; external recording can also help deliver high quality audio when paired with better microphone inputs or dual-system sound. The Canon EOS R8 ($1,200-$1,500) is another excellent camera option for creators who prefer Canon’s full-frame ecosystem. Businesses looking for a lower-cost DSLR can expect to spend approximately $300–$700 on a used or entry-level DSLR camera that can also handle still photography while supporting business video work.
- A shotgun microphone for on-camera capture picks up sound directionally and reduces ambient noise during run-and-gun recording. The RØDE VideoMic NTG offers a supercardioid pickup pattern, internal rechargeable battery, and includes a shock mount at an estimated price of $250-$300. The RØDE Boompole ($100-$170) allows you to reposition the mic to capture cleaner dialogue for interviews and testimonials.
- Professional shoots quickly accumulate accessories, so it’s worth investing in dependable cables and adapters. For an estimated accessories cost of $150-$300, consider including:
- HDMI cable (camera to Atomos Ninja)
- Right-angle HDMI adapter (helps reduce cable strain)
- USB-C cable for charging and data
- 3.5mm TRS audio cables
- XLR-to-3.5mm adapter (if connecting professional microphones to cameras without XLR inputs)
- Spare batteries and dual battery charger
- High-speed SDXC V60 or V90 memory cards
- Cable ties or reusable hook-and-loop straps for cable management
Live Stream And Video Conferencing Packages
Hybrid Kit For Live Stream And Video Conferencing
- For hosting webinars, hybrid meetings, podcasts, or livestreams, a compact video switcher streamlines production by connecting multiple cameras, presentation computers, and audio sources into one system. Choose a compact ATEM-style switcher like the Blackmagic Design ATEM Mini Pro for hybrid meetings; it fits well in small studios, offers four HDMI inputs and built-in streaming capabilities. The USB webcam output works seamlessly with platforms like Microsoft Teams, Zoom, and Google Meet for an approximate price of $295-$350. If you’re using professional XLR microphones, route them through a small audio mixer or interface before connecting to the switcher.
- If your conference room does not need multiple cameras, a high-quality USB webcam is often the simplest upgrade. The Logitech Brio 4K delivers excellent image quality, strong low-light performance, autofocus, HDR, and plug-and-play compatibility with most conferencing platforms. Expect to spend approximately $170–$220. For teams wanting Logitech’s newest premium model, the Logitech MX Brio is another excellent option, typically priced around $200–$250.
- Clear audio is just as important as clear video during virtual meetings. A simple setup consisting of one or two quality microphones, an audio interface, and a pair of monitoring headphones will dramatically improve the experience for remote participants. The Shure MV7+ is a popular USB/XLR microphone for conference rooms, interviews, and podcasts, typically costing $280–$320 each. Pair it with a Focusrite Scarlett 2i2 (4th Generation) audio interface ($180–$220) for professional-quality microphone inputs, and use Audio-Technica ATH-M40x headphones ($100–$120) to monitor audio and eliminate echo during meetings or livestreams.
Quick Guide To Video Conferencing Setup
- Test the camera framing before every meeting, and check camera settings before you start, especially exposure and focus.
- Mute unused audio sources during calls and use simple audio checks to keep sound clear in noisy environments.
Audio And On-Set Essentials
Shotgun Microphone And Boom Pole
- A shotgun microphone performs best when mounted on a boom pole. The boom pole allows you to position the microphone close to the speaker while keeping out of the camera frame and we use it often to shoot interviews, testimonials, and marketing videos where clean dialogue is a priority.
- Pair your shotgun microphone with a shock mount to reduce handling noise, vibrations, and bumps that can travel through the boom pole into the microphone. The RØDE SM4-R Shock Mount (approximately $50–$70) is a popular choice compatible with many RØDE shotgun microphones.
- When positioning a shotgun microphone, place it 6–18 inches from the speaker and angle it toward the mouth, either from just above or just below the frame. Keep the microphone as close to the subject as possible without appearing on camera. Proper microphone placement allows the shotgun microphone to capture the speaker’s voice directly while minimizing room reflections and background noise, resulting in cleaner, more professional audio.
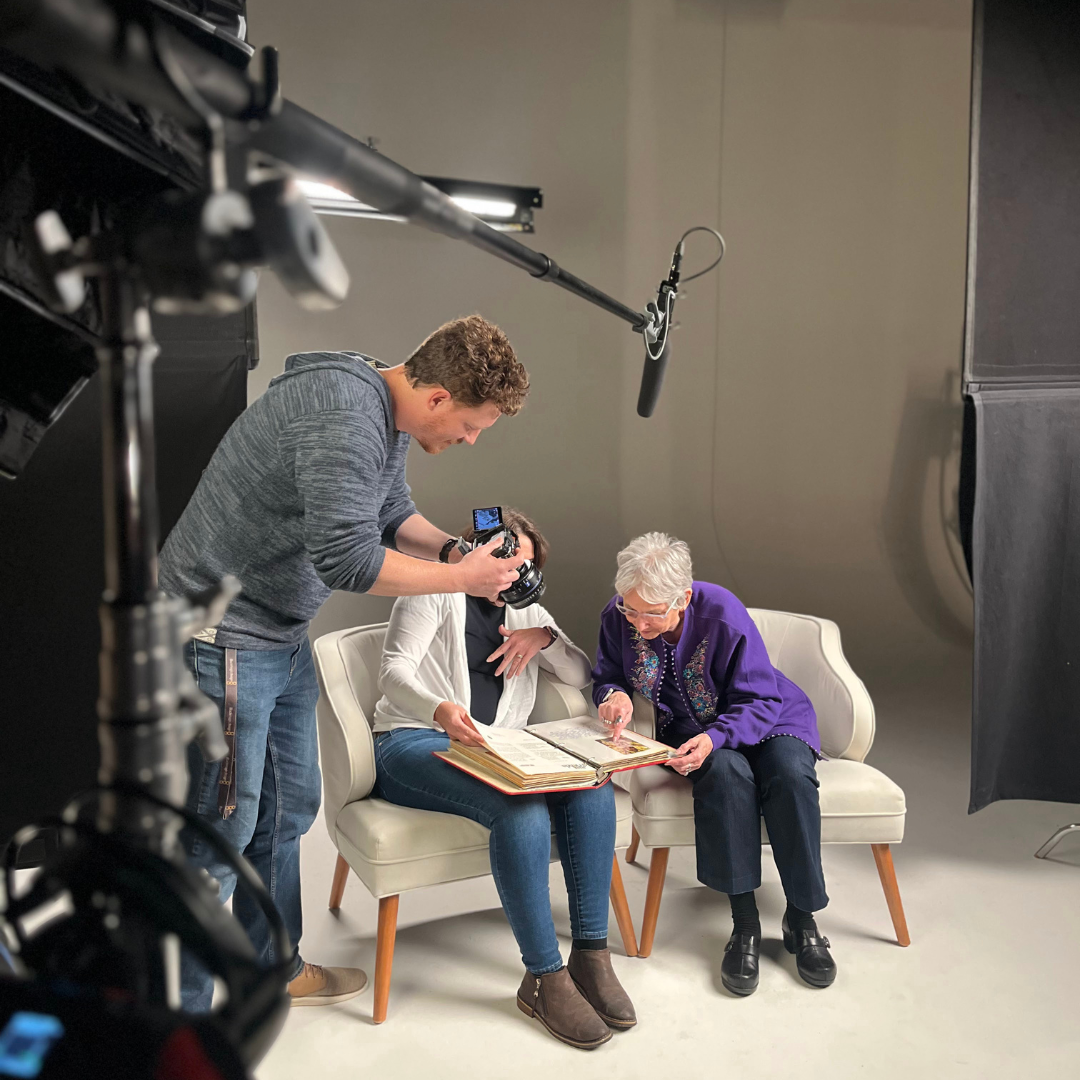
External Recorder Workflow
- For higher-quality audio, record dialogue to a dedicated external recorder instead of relying only on the camera’s built-in audio, since a separate recorder helps capture high quality audio more reliably than in-camera recording alone. A Zoom recorder, such as the Zoom H5 or Zoom H6essential, is an industry standard option for small teams that want dependable dual-system sound and professional-level capture because it can record multiple inputs as separate tracks, making it easier to control dialogue, backup audio, and room sound in post-production. Expect to spend roughly $250-350.
- Sync the external audio to your camera footage during editing. Most editing programs, including Adobe Premiere Pro, can synchronize separately recorded audio and video using waveform matching or merge/sync tools, which makes the edit and final assembly much easier when your audio clips are clean and clearly labeled.
- After each shoot, label and back up your files immediately. Use clear folder names for the project, date, camera footage, external audio, and final selects so nothing gets lost before the edit begins.
Lighting Kit Options: Three Point Lighting and Alternatives
- Proper lighting does more than brighten a scene—it helps shape the mood, tone, and professionalism of your video. LED panel lights are the most versatile option because they can serve as the key light, fill light, and back light in a traditional three-point lighting setup. Ring lights, on the other hand, produce soft, even illumination that is especially flattering for talking-head videos, livestreams, and direct-to-camera recordings. When available, natural light from a large window can also create a soft, flattering look, although it is less consistent and more difficult to control throughout the day.
- For maximum flexibility, choose a bi-color LED lighting kit with adjustable color temperature and brightness. A recommended option is the GVM 800D-RGB 3-Light LED Video Lighting Kit, which typically costs $300–450. Look for adjustable color temperature (3200K–5600K), dimmable output, a CRI of 95 or higher for accurate color reproduction, and included light stands. These features allow the lights to function as the key, fill, and back light in a simple three-point lighting setup.
- A 5-in-1 reflector is an inexpensive addition that can dramatically improve lighting by bouncing light back onto your subject, creating a softer, more natural fill without requiring another light fixture. Reflectors are especially useful for interviews and videos filmed with natural light. Expect to spend approximately $20–50 for a quality collapsible reflector.
- If you frequently film outside the office or on client locations, consider battery-powered LED lights instead of AC-only fixtures. Options such as the Godox SL60IIBi or Aputure Amaran 60x S can operate using rechargeable batteries or optional battery adapters, making them ideal for location shoots where power outlets may not be available. Expect to spend approximately $150-250 per light, depending on the model and accessories.
Stabilization And Lenses For Steady Shots
- A quality tripod with good stabilization prevents shaky footage and supports more professional results. Pair your tripod with a fluid head to achieve smooth pans and tilts that give interviews, product demonstrations, and promotional videos a more polished, professional appearance. The SmallRig AD-01 Fluid Head Tripod is an excellent option for beginners and small businesses, typically costing $140–180. Look for features such as adjustable drag, a quick-release plate, and a sturdy aluminum or carbon-fiber build to ensure reliable performance during longer shoots.
- For moving shots, a handheld gimbal helps eliminate camera shake and creates smooth, cinematic motion while walking or following a subject. The DJI RS 4 Mini is an excellent choice for mirrorless cameras, offering three-axis motorized stabilization, subject tracking compatibility, and a lightweight design that’s ideal for interviews, facility tours, and behind-the-scenes content. Expect to spend approximately $350–450. Businesses filming primarily with smartphones may instead consider the DJI Osmo Mobile 7, typically priced between $75-150.
- The right lens can dramatically change the look of your videos. A 24–35mm lens works well for wide establishing shots and office environments, while a 50mm lens is a versatile choice for interviews and general-purpose filming. For tighter interviews or product close-ups, an 85mm lens produces flattering compression and natural background separation. If you’re looking for more cinematic visuals or frequently shoot in low-light environments, consider a fast prime lens with a wide aperture such as f/1.8 or f/1.4. These lenses allow more light to reach the sensor while creating a shallow depth of field that’s ideal for interviews, b-roll, and creative projects.
Editing Software And Post Production
- For businesses looking for professional editing software without the upfront cost, DaVinci Resolve is one of the best places to start. The free version includes professional-grade editing, color correction, visual effects, motion graphics, and audio post-production tools that are more than capable of producing polished marketing videos. Many creators on platforms like Reddit rely on budget-friendly or free editing tools for video production, which is one reason Resolve remains so popular. It has become a favorite among independent filmmakers and the solo content creator, particularly for its industry-leading color grading capabilities.
- When choosing video editing software, the right tool helps teams create high quality content more efficiently. If you’re already using Adobe Creative Cloud, Adobe Premiere Pro integrates seamlessly with Photoshop, After Effects, Illustrator, and Audition, making it an excellent choice for teams working across multiple creative applications when you want a more polished final product for client-facing videos. Final Cut Pro (approximately $299.99 one-time purchase) is a popular professional option for Mac users who prioritize performance and a streamlined editing experience. For beginners, iMovie provides a free, intuitive editing platform on macOS and iOS, while Filmora 15 offers a user-friendly interface with practical editing tools, effects, and templates for approximately $50–80 per year. If you primarily edit social media content on your phone or tablet, Adobe Premiere Rush is a simple solution that syncs projects across desktop and mobile devices and is included with many Adobe Creative Cloud subscriptions.
- To speed up post-production, consider installing a caption plugin that automatically generates and styles subtitles. Captioneer is an affordable option for Adobe Premiere Pro that creates customizable animated captions directly inside your timeline. Another popular alternative is FireCut, which offers AI-powered caption generation along with silence removal and multicam editing tools. For creators using DaVinci Resolve, the built-in AI Subtitles feature (available in DaVinci Resolve Studio) or third-party tools such as SubMachine can significantly reduce captioning time while improving accessibility and social media engagement.
Post Workflow Actions
- Organize your footage immediately after each shoot by creating clearly labeled folders for camera footage, audio, graphics, project files, and exports. A consistent folder structure makes it easier to locate assets, collaborate with team members, and archive projects for future use.
- If you’re editing high-resolution footage on a laptop or less powerful computer, create proxy files before you begin editing. Proxies are lower-resolution copies of your original media that improve playback performance and make the editing process smoother without affecting the quality of the final export.
- After basic edits, focus on adding graphics, lower thirds, logos, captions, and motion graphics before exporting when appropriate. These visual elements reinforce your brand, clarify key information, and help transform raw footage into polished, professional content that’s easier for viewers to follow.
- Before delivering your final video, export a high-quality master file using the appropriate color space and codec for your project. For most online video, export in Rec. 709 color space using the H.264 or H.265 (HEVC) codec at the video’s native resolution. Keep a master copy of the finished project alongside your original footage so future revisions or alternate exports can be created without starting from scratch.
Production Workflow — Start Filming To Publish
Behind The Scenes And Shoot Prep
- Create a simple shot list before every shoot to ensure you capture all of the footage you need. Even a basic checklist of wide shots, close-ups, interviews, product demonstrations, and b-roll can help keep the production organized, reduce the need for costly reshoots, and give you footage for various purposes across marketing, training, and storytelling.
- Before pressing record, perform a quick equipment check. Test your microphones, adjust your lighting, verify focus, set the correct exposure, and follow the 180-degree shutter rule whenever possible (for example, use a shutter speed of 1/60 second when filming at 30 frames per second) to achieve natural-looking motion blur.
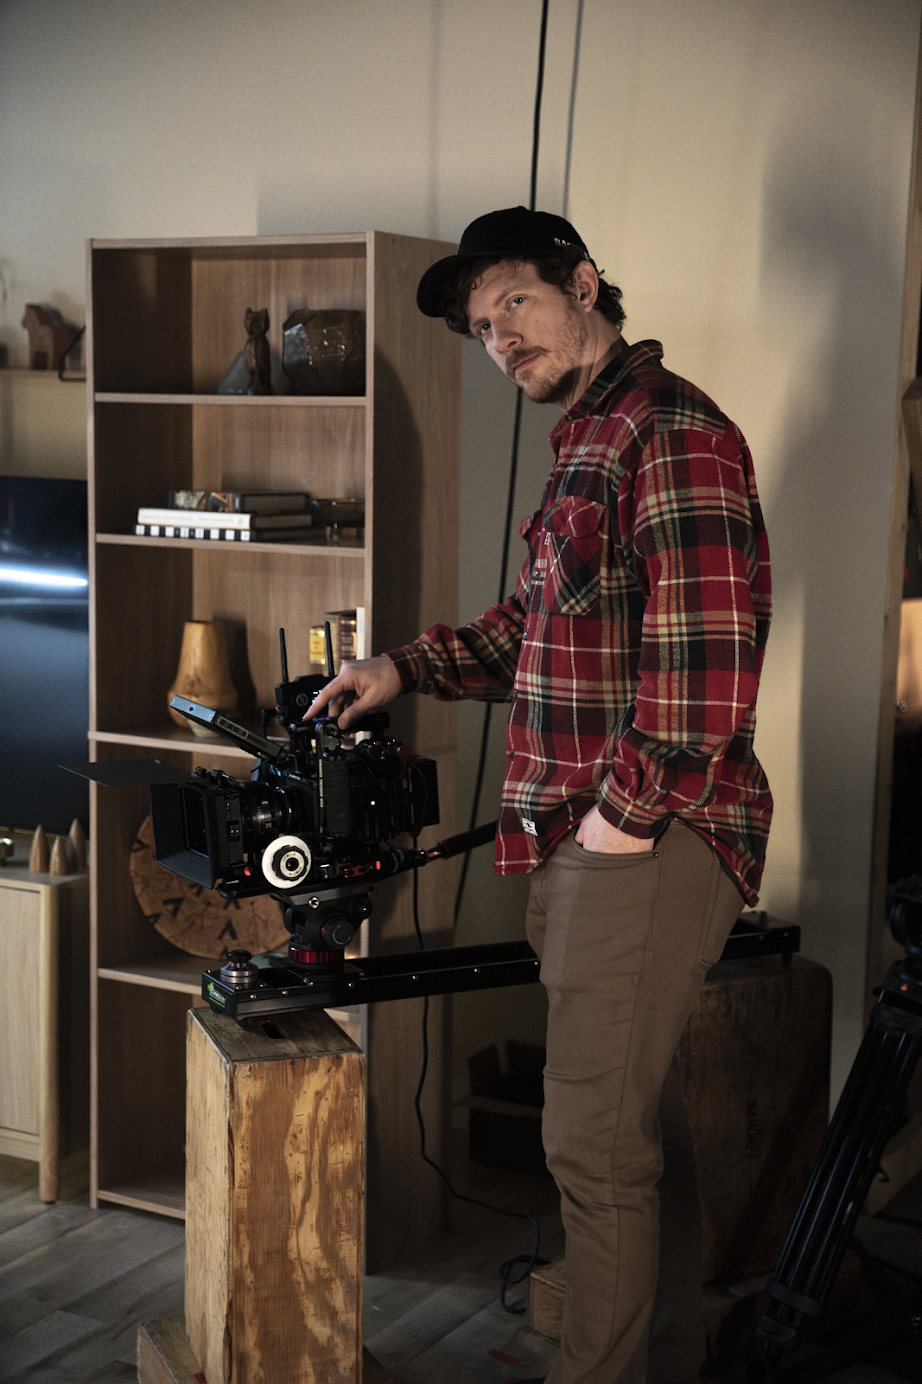
- Don’t forget to capture behind-the-scenes (BTS) footage throughout the production. Short clips of your team setting up equipment, directing interviews, or filming products can be repurposed into social media posts, recruiting content, and marketing materials that showcase your company’s process and personality.
Deliverables And Distribution Steps
- Export multiple versions of each video based on where it will be published. Create horizontal (16:9) versions for YouTube and websites, vertical (9:16) versions for Instagram Reels, TikTok, and YouTube Shorts, and square (1:1) versions when appropriate for platforms like LinkedIn. Optimizing your exports for each platform helps maximize quality and engagement.
- After exporting, upload both the final master file and any platform-specific versions to a secure cloud storage service such as Google Drive, Dropbox, Microsoft OneDrive, or Box. Organizing deliverables in shared folders allows your marketing team, clients, or content creators to easily access, review, and publish the correct files while preserving a high-quality master for future use.
Buying Checklist And Next Steps
- Before making a purchase, create a simple equipment checklist that compares key features, compatibility, warranty information, and pricing across different products. Looking at complete systems—not just individual items—can help you build a kit that works well together and avoids unnecessary purchases.
- Prioritize purchases based on your immediate production needs, whether that means product demos and training clips or even music videos if your business supports more creative campaigns, rather than trying to build a complete studio all at once. Start with the equipment that will have the greatest impact on your video quality—typically audio, lighting, and camera stabilization—then expand your kit as your team’s skills and production demands grow.
- Finally, set aside time to learn your equipment and editing software. Even the best gear requires practice to use effectively. Investing in training, tutorials, and hands-on experience will help your team produce higher-quality content and maximize the value of every equipment purchase.
If you want to take your video production next level, let’s talk! You can check out our video production services page for more information about what Backflip offers and how we work.
