Why Color Grading Matters: Creating a Mood with Your Video Footage
Color grading is more than a final polish — it’s a powerful storytelling tool that transforms raw video footage into cinematic art. Whether editing a short film, brand promo, or YouTube vlog, mastering the color grading process helps set the tone, elevate your visuals, and create emotional impact.
Effective color grading establishes a sense of atmosphere or emotion, allowing viewers to feel the intended mood and enhancing the overall storytelling experience.
What Is Color Grading?
Color grading is the creative phase of video editing where you enhance, adjust, and stylize the video color to achieve a specific mood or tone. The process starts with footage captured by a camera, and using the right camera profiles is crucial for consistent and high-quality grading. Proper filming techniques and camera calibration also play a key role in ensuring accurate color representation throughout the color grading. It goes beyond simple color correction steps, which aim to fix technical issues like white balance or exposure. Instead, grading is about shaping the look and feel of your content to align with your story, resulting in visually compelling images.
Professional filmmakers use color to evoke different emotions — warmth to suggest nostalgia, cool tones to create distance, or high contrast to inject drama. In films, color grading is a powerful tool for visual storytelling and narrative cohesion. Color grading allows editors to express creative ideas and achieve a unique visual style. A well-graded film speaks visually before a word is even spoken.
Color correcting fixes video image issues and ensures consistency across different shots and cameras before moving on to creative grading.
Understanding Color Management
Color management is a foundational part of the color grading process, ensuring that your video looks consistent and professional no matter where it’s viewed. In video editing, color management means calibrating your monitors, cameras, and other equipment so that the colors you see during editing are accurate and true to life. This step is crucial for maintaining color continuity, especially when working with footage from different cameras or editing on multiple devices.
Modern color grading software, such as Adobe Premiere Pro and DaVinci Resolve, has advanced color management tools. These features help you control how colors are interpreted and displayed throughout your workflow, making it easier to achieve professional-quality color grading. By using these tools, you can correct color errors early in the process and ensure that your final video maintains a consistent look across all platforms and screens.
Whether you’re working on a short film or a commercial project, understanding color management is key to delivering a polished, visually cohesive product. With the right tools and attention to detail, you can be confident that your video will look its best everywhere it’s seen.
Color Correction vs. Color Grading
While color correction and color grading are often mentioned together in video editing, they serve very different purposes. Color correction is the technical step to fix issues like exposure, white balance, and color inconsistencies in your footage. This ensures your video looks natural and balanced, providing a clean foundation for further creative work.
Once your footage is corrected, color grading comes into play. This is where you use digital color grading tools to enhance each scene’s mood, style, and atmosphere. Color grading is about making creative choices—adjusting tones, adding contrast, or shifting colors to evoke specific emotions and achieve a cinematic look.
Software platforms like Adobe Premiere Pro and DaVinci Resolve offer robust color correction and grading features. Understanding the differences between these two steps is essential for any editor aiming to create visually stunning videos. By first correcting your footage and then grading it, you can fully unlock your project’s creative potential and deliver a polished, professional result.
Why Mood Matters in Video
Viewers don’t just watch your content — they feel it. The mood of a video influences how your audience perceives your message. A consistent color grade can:
- Convey the tone of your story
- Enhance your production design choices
- Provide color continuity across scenes and different cameras
- Help your audience feel connected to the character or setting
For example, filmmakers often use dark shadows and desaturated hues in thrillers to amplify tension. Blue tones or blue shadows are frequently employed to create a cold or ominous mood, enhancing the emotional impact of a scene. In contrast, a family drama might use high-saturation tones and warm highlights to create emotional warmth.
The Tools That Shape Your Grade
Today’s creators have access to powerful digital tools for color grading. Leading color grading software includes:
- DaVinci Resolve – known for its node-based system, professional controls, and industry-standard output
- Adobe Premiere Pro – widely used in both indie and commercial editing, especially with its Lumetri Color tools
- Final Cut Pro – ideal for Mac users seeking fast workflows and precise color adjustments
Some of these digital tools also support direct on-screen grading, allowing you to make real-time visual adjustments right within the viewer or monitor interface.
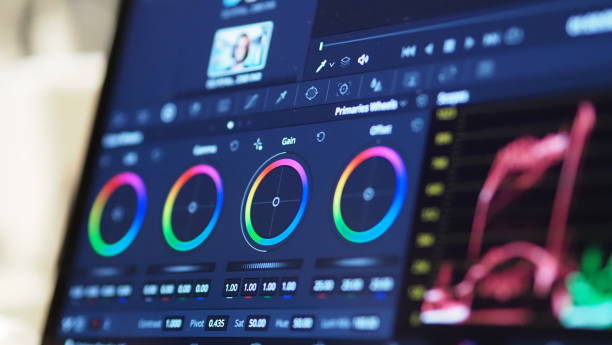
These software platforms offer features like color wheels, saturation and contrast controls, and integrated color management to help you achieve the cinematic look you’re after.
Color Grading Techniques That Matter
Achieving professional-quality color grading requires both technical skills and creative vision. Understanding the key elements of the color grading process—such as isolating specific colors, adjusting contrast, and refining individual components—can help you achieve more controlled and realistic results. Here are a few techniques to explore:
- Match shots: Ensure consistent color across scenes shot with different cameras or lighting setups.
- Use log footage: This gives you more dynamic range and flexibility during the grade.
- Focus on tone and contrast: These shape your scene’s feelings and can highlight emotional beats.
- Use color grading software presets or LUTs to maintain a consistent style across projects.
- Adjust exposure, saturation, and color temperature to fine-tune every frame.
- Save and apply grades to maintain consistency and quickly match looks across multiple clips.
For example, using cooler tones can create a somber atmosphere, while enhancing warm elements like reds and oranges can evoke energy or intimacy. These examples show how color grading techniques directly influence the mood and storytelling of your footage.
Note: Always monitor your work on a calibrated display to ensure your grades appear as intended across different viewing environments.
Integrating Color into Your Workflow
Bringing color into the heart of your workflow is essential for creating a consistent and engaging final product. By using color management tools and color grading software like DaVinci Resolve or Adobe Premiere Pro, you can ensure color continuity from the first edit to the final export. These platforms offer powerful features that help you manage and adjust color throughout your project, making it easier to maintain a unified look and feel.
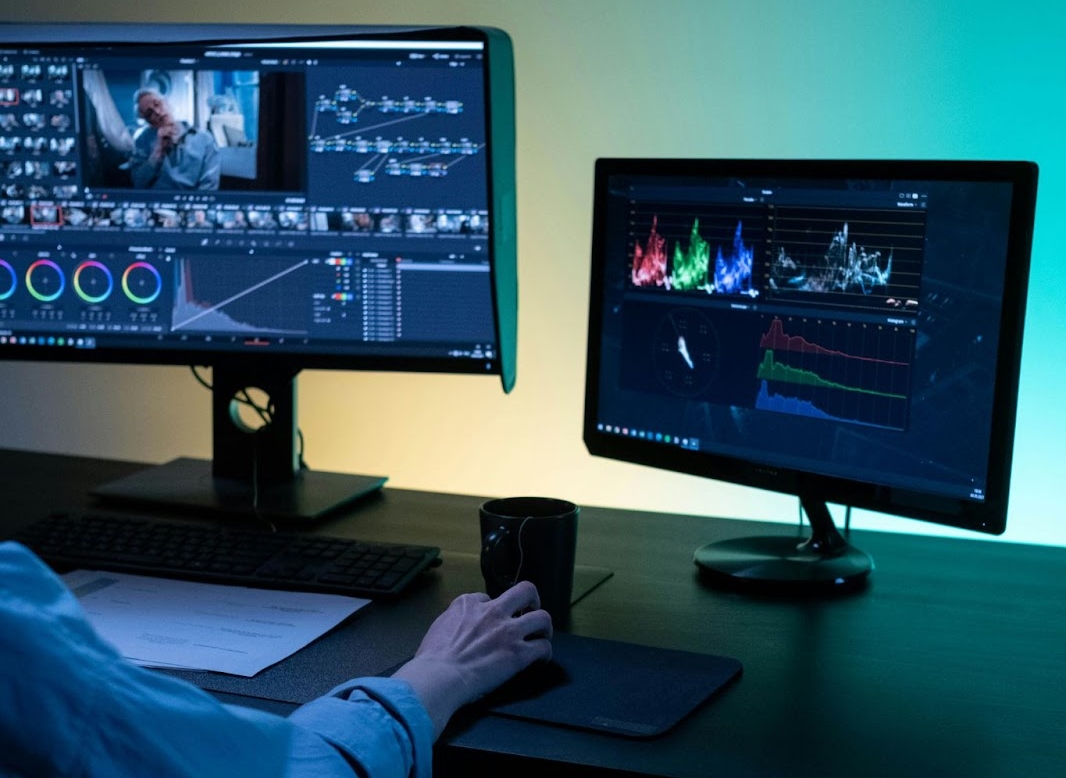
A node-based system, such as the one found in DaVinci Resolve, allows you to organize your color adjustments logically and flexibly. This approach streamlines the color grading process, ensuring that changes are applied consistently across your entire film. Integrating color management and grading into your workflow enhances the mood and atmosphere of your video and helps you create a more immersive experience for your audience.
By making color a central part of your editing process, you can elevate your project from ordinary to extraordinary. Consistent color grading and management are the keys to delivering a professional, visually compelling story that resonates with viewers.
Avoid Common Mistakes
Even with great tools, mistakes in grading can distract or confuse your viewer. Common issues include:
- Over-saturating the image
- Ignoring white balance
- Failing to match scenes properly
- Using inconsistent color timing or workflow
A good rule of thumb: It might be too much if your audience notices the grade more than the story.
Final Thoughts
From indie creators to major studios, color grading is now a crucial part of every successful video project. While color adjustments were once handled in film labs during the photochemical development and printing stages, today’s digital tools like DaVinci Resolve, Adobe Premiere, and Final Cut Pro have revolutionized the process, making professional results accessible to even small teams. The difference it makes in conveying emotion, refining tone, and creating a cohesive style is enormous.
If you want your next video editing project to stand out, start by focusing on the color grading process. Done right, it’s not just about looking good — it’s about making your story feel right.


